
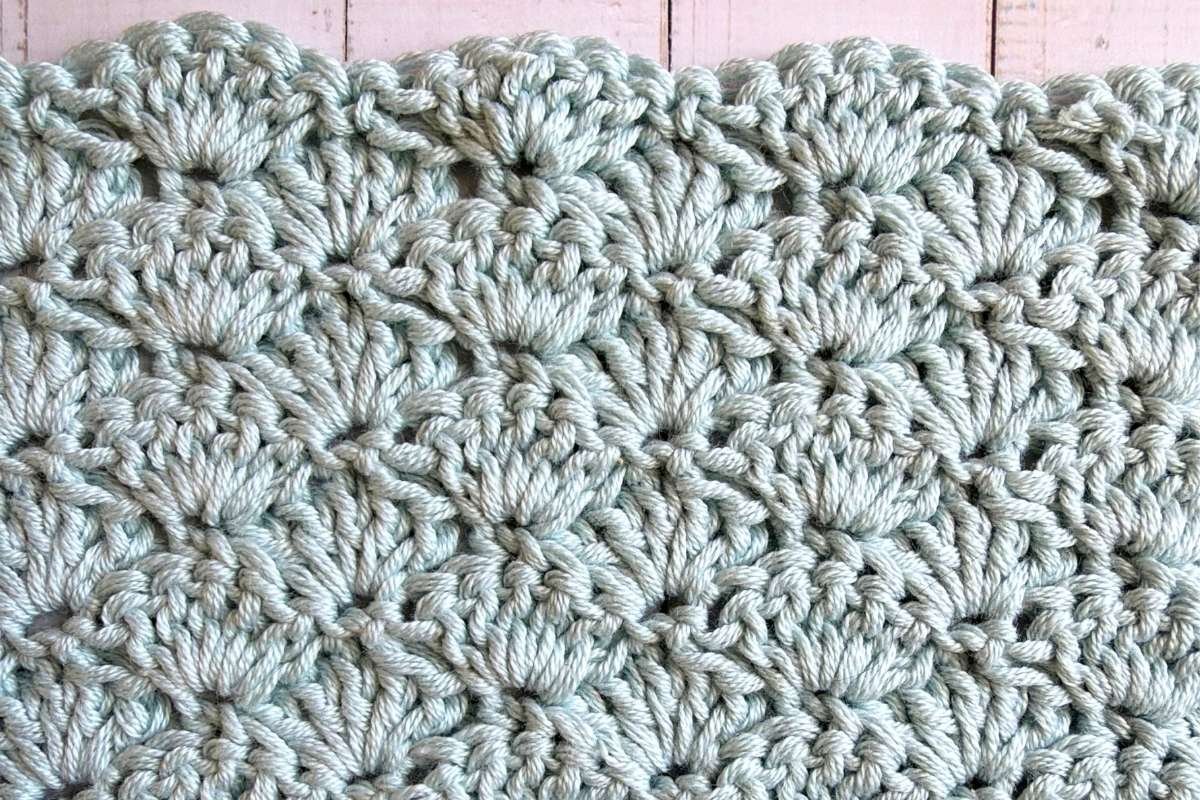
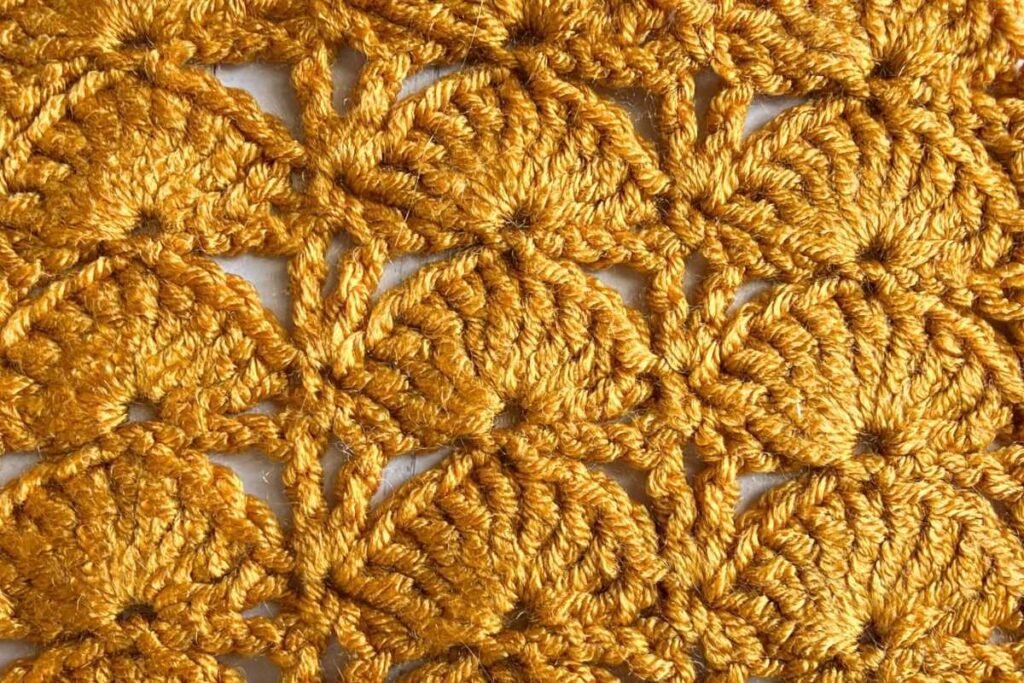
The classic crochet shell stitch is a beautiful way to add gentle curves and texture you your crochet. made by working groups of double crochet stitches into the same stitch, the shells spread out to create the pretty fan like shape that gives this stitch its name.
Despite its decorative appearance, the shell stitch is surprisingly straightforward to crochet. Once the foundation row is complete, you’ll work a simple two row repeat, alternating shells with single crochet stitches. This version create a fairly solid fabric, while still having plenty of movement and texture. It works beautifully for blankets, garments, hats and even as decorative edging.
Classic Crochet Shell Stitch at a Glance
Before you begin here are a few key details for this stitch pattern:
- Skill level: Easy
- Stitch multiple: 6 + 2
- Row repeat: 2 rows
- Reversible: Yes
Special Stitch
Shell: Work 5 double crochet stitches into the indicated stitch.
Crochet Abbreviations
This tutorial uses US crochet terminology
- ch – chain
- dc – double crochet
- sc – single crochet
- sk – skip
- st(s) – stitch(es)
- rep – repeat
What You’ll Need
You can practice the classic shell stitch with almost any yarn and a crochet hook suitable for your chosen yarn. If you’re learning the stitch for the first time, a smooth, light coloured yarn can make it much easier to see where each stitch needs to go. Avoid very fuzzy or texture yarn until you’re comfortable with the repeat. The shells are pretty enough without making you play hide and seek with your stitches!
How the Classic Shell Stitch Works
The shell in this pattern is created by working five double crochet stitches into one stitch. A single crochet is worked between each shell. This anchors the taller double crochet stitches and helps create the characteristic curved shape.
The next row positions the shells over the single crochet stitches from the previous row, while the new single crochet stitches are placed into the centre of the previous shells. Repeating these two rows creates the staggered shell pattern.
Classic Crochet Shell Stitch Pattern
Before starting the crochet shell stitch you will need to know how to make the single crochet and double crochet stitches.
For this stitch, begin with a foundation chain that is a multiple of 6 plus 2 additional chains. For a practice swatch you can chain 26.
Row 1
Work 1 sc in the 2nd ch from the hook, *sk the next 2 chains, work shell in the next chain, sk the next 2 chains, then work 1 sc in the next ch, rep for * across.
Row 2
Ch 3 (counts as a dc here and throughout), 2 dc the same sc, *sk 2 dc, sc in the next dc, sk 2 dc**, Shell in the next sc, rep from * across ending the last rep at **, 3 dc in the last sc. Turn.
Row 3
Ch 1 (not counted as a st), sc in the first dc, *sk 2 dc, Shell in the next sc, sk 2 dc, sc in the next dc, rep from * across placing your last sc on the top of your turning ch. Turn.
Repeat
Continue repeating Rows 2 and 3 until your crochet reaches the desired length.
How to Recognise the Stitch Repeat
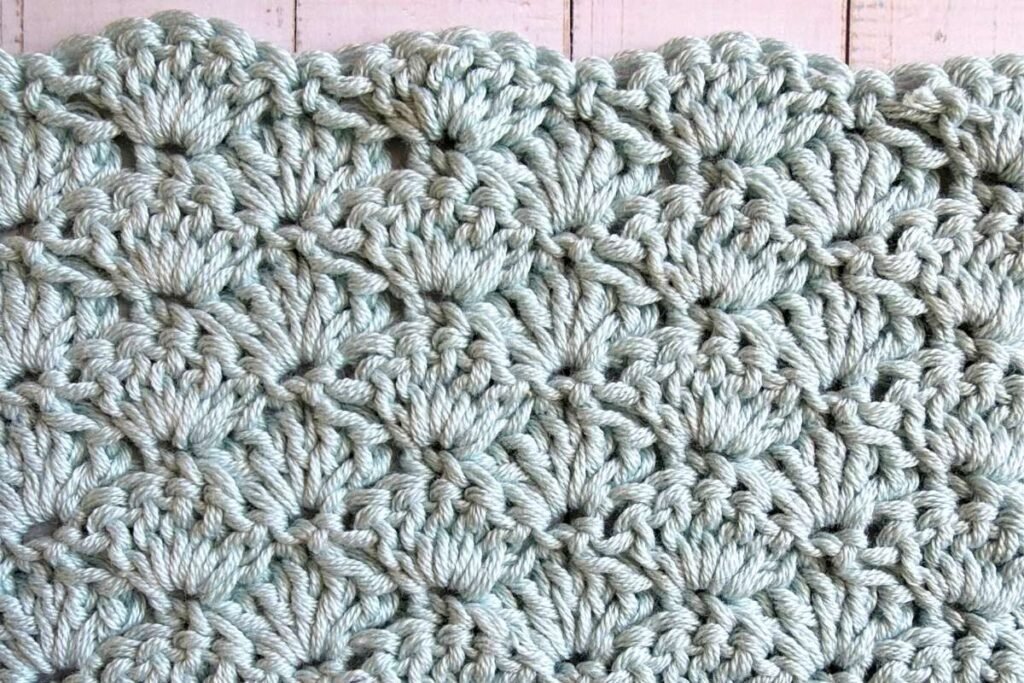
Once you’ve worked a few rows, the pattern becomes much easier to read. On row one you’ll have complete shells sitting across the fabric. On the following row you’ll have half shells at each edge with full shells between them. The most important thing to remember is where your stitches are placed.
Shells are worked into single crochet stitches and single crochets are worked into the centre double crochet of each 5 dc shell. If you can identify those two points you can usually work across the row without constantly checking the Witten instructions.
How to Increase in Classic Shell Stitch
You can increase the width of your fabric while maintaining the shell pattern. Because the stitch has a six stitch repeat, the increase develops gradually rather than adding an entire shell at once. The basic principle is to introduce a partial shell at the edge and gradually incorporate it into the established shell pattern over subsequent rows.
When increasing pay particular attentions to the first and last shell of each row. Counting the shell repeats rather than individual stitches can make it much easier to see whether the shaping is developing correctly.
Tip: Place a stitch marker at the shaped edge. Shell stitch is very visual once established but edge stitches have an uncanny ability to disappear when you’re not looking!
For this swatch make a foundation chain of 26
Row 1
Sc in the second ch from the hook, sk 2, Shell in the next ch, sk 2 ch, sc in the next chapter, rep from * across. Turn.
Row 2
Ch 3, 2 dc in the same sc, *sk 2 dc, sc in the next dc, sk 2 dc, Shell in the next sc, rep from * across to last sc, Shell in the last sc. Turn.
Row 3
Ch 3, 4 dc in the same dc, sk the next dc, sc in the next dc,* sk 2 dc , Shell in the next sc, skip 2 dc, sc in the next dc. When you reach the end of the row your last sc is placed on top of the ch 3. Turn.
Row 4
Rep row 2 until you reach the ch 3 turning chain, Place a Shell in the top of the chain 3. Turn.
Repeat
Repeat Rows 3 and 4 until your piece is the preferred width.
How to Decrease in Classic Shell Stitch
Decreasing works in the opposite way. Instead of adding another shell repeat, stitches at the edge are gradually left unworked so that the fabric becomes narrower while the established shell pattern continues across the remainder of the row.
When shaping an edge, make sure the single crochet stitches and shells continue to line up correctly with the previous row. Maintaining this placement is more important than trying to force a complete shell into an area where there are no longer enough stitches. For projects requiring precise shaping it’s worth keeping track of each decrease row as you work.
Make a foundation chain of 26
Row 1
Sc in the second ch from the hook, *sk 2 ch, Shell into the next ch, sk 2 ch, sc into the next ch, rep from * across. Turn
Row 2
Ch 3, 2 dc into the same sc, *sk 2 dc, sc into the next dc, sk 2 dc, *Shell in the next sc, sk 2 dc, sc into the next dc, sk 2 dc, rep from * across placing your last Shell into the second to last last sc, sk 2 dc, sc in the next dc. Leave the remaining sts unworked. Turn.
Row 3
Ch 1, sk the first sc, sl st into each of the next 2 dc, sc in the next dc, sk 2 dc, *Shell in to the next sc, skip 2 dc, sc into the next dc, rep from * across placing your last sc on top of the ch 3 turning ch. Turn.
Repeat
Continue repeating Rows 2 and 3 until you’re happy.
Tips for Crocheting neat Shell Stitches
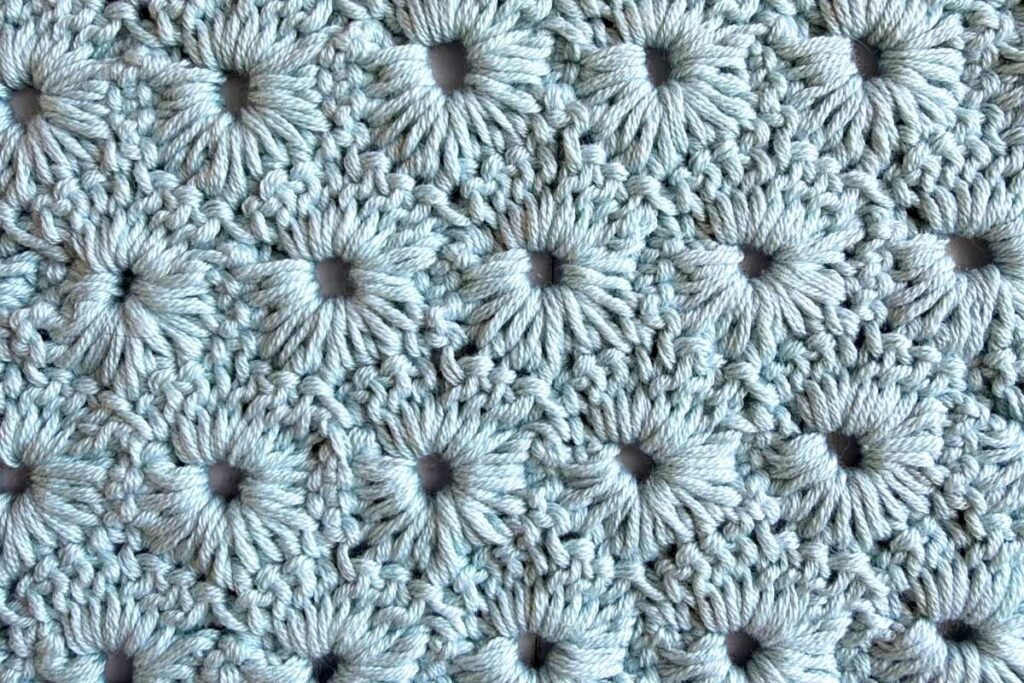
Try to keep the five double crochet stitches within each shell at a similar tension. Because they’re all worked into the same stitch they naturally spread apart and shouldn’t need to be pulled or stretched into shape. Make sure you’re working the single crochets into the centre double crochet of each shell. With five double crochet stitches that’s the third double crochet.\It’s also worth counting your shells occasionally. Accidentally working into the wrong double crochet can shift the pattern sideways and the mistake may not become obvious until the following row.
Finally don’t judge the fabric too quickly. Shell stitch often looks much neater after several rows have been completed and the pattern had had a chance to establish itself.
Common Shell Stitch Problems
My Shells Are Moving Out of Position
Check where you’re placing your single crochet stitches. Each single crochet should sit in the third row(centre) double crochet of the shell below.
My Stitch Count Keeps Changing
The most likely culprit is an edge stitch. Pay attention to the beginning and end of the rows, especially after the turning chain.
My Fabric Is Curling
A little curling in a new swatch isn’t necessarily a problem. However, significant curling can indicate that your tension is too tight. Try relaxing your tension or moving up a hook size and see whether the fabric lies more comfortably.
Classic Shell Stitch FAQs
Is crochet shell stitch suitable for beginners?
Yes. If you’re already comfortable with single crochet and double crochet, classic shell stitch is a great pattern to learn next. It introduces the idea of combining basic stitches into a repeating stitch pattern without requiring difficult crochet techniques.
How many double crochet stitches make a shell?
For this classic shell stitch pattern, each shell contains 5 double crochet stitches worked into the same stitch. Shell stitch is a broad term though and other crochet patterns may use a different number or combination of stitches to form their shells.
What is the multiple for the classic shell stitch?
The stitch multiple is 6 + 2. This means you can choose any multiple of six for the width of your project and then add an additional 2 chains.
How many rows are in the repeat?
After completing the foundation row two rows will form the row repeat.
More Crochet Stitches to Explore
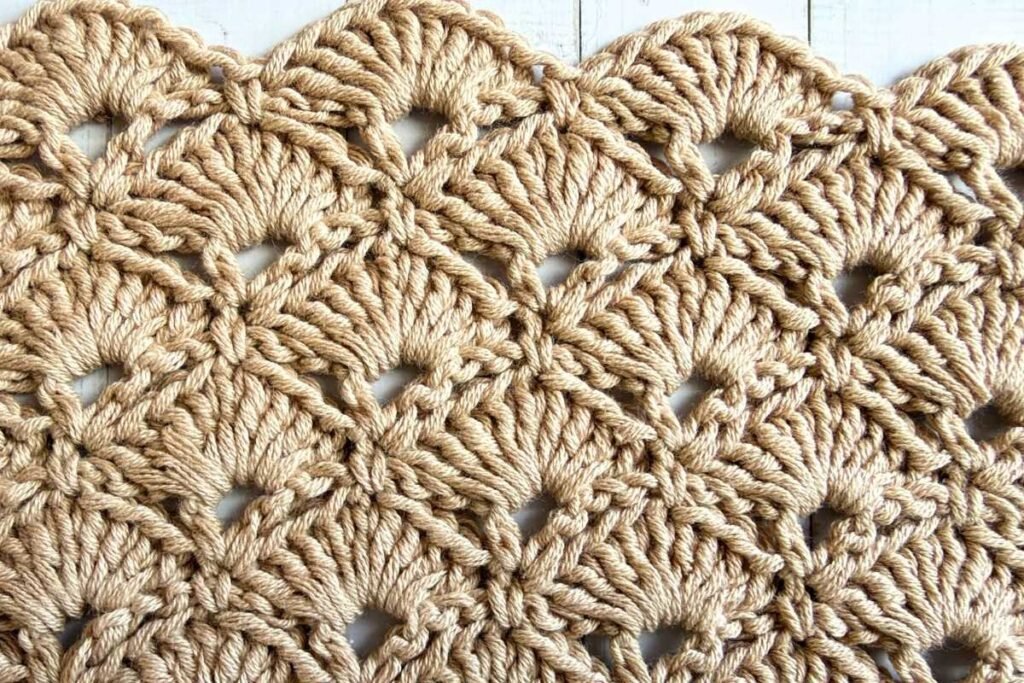
Once you’re comfortable with the classic shell stitch, you’ll find there are countless ways to alter the basic idea. Changing the number of stitches within a shell, adding chains or changing where the shells are positioned can create completely different fabrics.
And that’s exactly where Crochet Stitch Finder gets more interesting. As we add more shell and fan variations, you’ll be able to compare them and find the right stitch for your next project.
Explore More Crochet Stitches
Love Discovering New Crochet Stitches?
Get new free crochet stitch patterns and tutorials delivered straight to your inbox.